

Cleaning the kitchen – a vexing topic, but one that cannot be avoided. When preparing food, it is particularly important to pay attention to cleanliness and hygiene. Therefore, this aspect should be taken into account when planning a new kitchen. Some materials are much easier to care for than others and there are differences in cleaning both electrical appliances and kitchen furniture. To ensure that your dream kitchen stays shiny and looks new for as long as possible, we would like to give you some tips for proper cleaning and care below.
Table of Contents
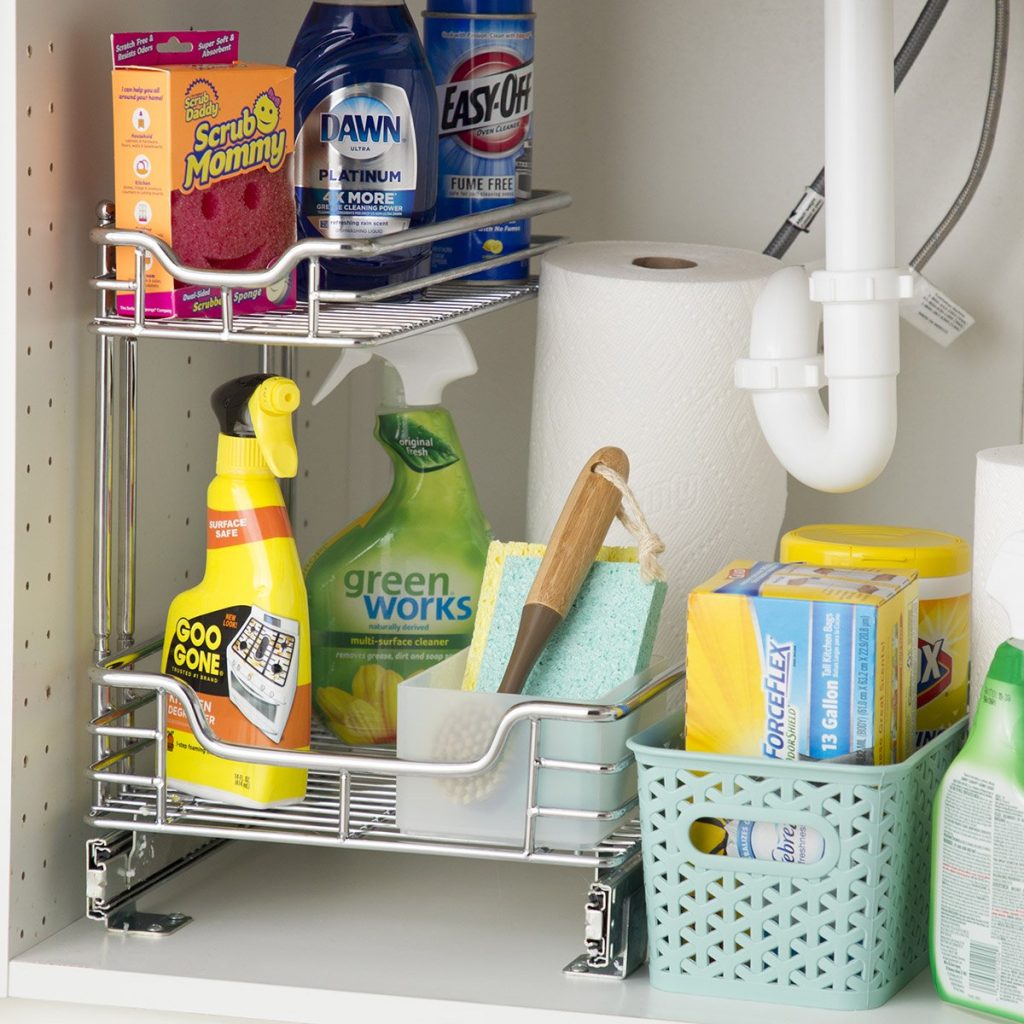
Clean a kitchen: Kitchen Cleaning
A note in advance: When it comes to efficient cleaning, handle less fronts are the first choice. Simply wipe the entire surface with a cloth with cleaning agent or clear water and it will be like new again. However, fingerprints can appear on handle-free surfaces, especially on high-gloss fronts. Depending on the design, handles still require a lot more work from their owners because you have to clean around them and dirt tends to collect on them. In general, the simpler and more straightforward the kitchen, the less maintenance it requires and the less time you have to spend cleaning. Country house kitchens with their cassette or frame fronts cannot be wiped clean as easily as a modern, handle-free kitchen. Therefore, you have to put more time into cleaning.
It is important to avoid aggressive chemicals and cleaning agents with abrasive effects when tidy up the kitchen. Always use either just water or a water-detergent mixture that is as gentle as possible. To clean the surfaces, use a soft, lint-free cloth and avoid microfiber cloths as these can cause scratches. Always try out your chosen cleaning or care product on an inconspicuous area to ensure that the product in question does not have any negative effects on the elegant surfaces.
Very often, plain water or a few drops of dishwashing liquid are sufficient. A good home remedy for tidy up the kitchen is baking soda. Mixed with citric acid and cornstarch, it tackles greasy and limescale dirt in the kitchen. But be careful: do not use on sensitive surfaces such as granite or marble. In addition, depending on the material, the following must be taken into account:
Clean wood carefully
The natural product wood is one of the more sensitive surfaces where incorrect cleaning can quickly affect the chic look. Care must be taken when cleaning wood. Surfaces made of real wood – whether cabinets or worktops – should therefore be treated as gently as possible. This includes removing stains immediately with a damp – not too wet – cloth. If possible, never let the dirt dry out. If it is a stubborn stain, you can add a little neutral soap to the mopping water. It is important to always wipe in the direction of the wood fibers when cleaning. This will prevent the wood from being attacked unnecessarily. Additionally, because wood absorbs moisture and can swell when wet, it is crucial that you carefully wipe the surface dry after cleaning.
In order to preserve the wood in the long term, regular treatment with oil is recommended . Linseed oil is particularly suitable here as it absorbs into the wood very well and dries quickly. When oiling kitchen furniture, make sure that it is applied in the direction of the wood grain. After the process, you should give the wood enough time to dry. Then the wood stays beautiful for longer and is also easier to clean.
By the way: The fact that wood changes its color over time when exposed to light is a completely normal process, which is part of the charm of the natural material. Depending on the shape of your kitchen and the arrangement of your windows, you should make sure that the light shines evenly. Otherwise some areas could fade. A front that is exposed to direct sunlight for several hours a day will change color much more quickly than one that only comes into contact with indirect light. In the long term, this can result in some cabinets being brighter than the rest of the kitchen. However, a thin curtain or roller blind is often enough to prevent this effect.
How do you scrub stone surfaces?
In addition to wood, stone as a natural product is also being used more and more in the kitchen. Natural stone countertops in particular are becoming increasingly popular. As with all surfaces, the same applies to stone: use gentle cleaning. Depending on the type of stone, the surfaces are also differently sensitive to heat or mechanical influences. While granite, for example, is extremely resistant, slate or marble are sometimes very susceptible to possible scratches or blemish. And marble in particular quickly suffers from the influence of acids. Splashes should therefore be removed as quickly as possible.
In order to protect your stylish stone surface in the long term, it is recommended to use special cleaning products that are commercially available for a wide variety of stone types. In addition to regular cleaning, you should also consider long-term sealing of the stone. This will prevent liquids from penetrating the porous surface of the stone and causing unsightly blemish.
Tips for cleaning glass
Glass is certainly one of the least sensitive materials for the kitchen, but it has the disadvantage that even the smallest dirt can be seen very quickly. Cleaning glass is uncomplicated. In order for the kitchen to shine in its perfect shine, it must be cleaned much more often than with other materials. Beyond that, no further care is necessary to maintain the surface in the long term. As a rule, it is sufficient to clean glass with plenty of water – possibly with a splash of spirit or vinegar – and a soft cloth. The usual commercially available glass cleaners are also very suitable for care.
Alkaline detergents, acids and cleaners containing fluoride should not be used when cleaning kitchen cabinets with glass fronts, as these can damage the surface. You should also avoid removing stubborn dirt with steel wool, razor blades or similar equipment, as there is always the possibility that the glass surface will be damaged. This is particularly true for frosted glass, which is significantly more sensitive than normal glass surfaces. Here too, only water and mild cleaners should be used for cleaning.

Cleaning stainless steel: tips and tricks
Stainless steel appliances and kitchens appear exclusive and modern. Stainless steel looks very stylish, especially in combination with black or dark gray kitchen fronts. But the chic impression is quickly spoiled by grease blemish and fingerprints. Below we would like to give you a few tips on how to deep clean and care for stainless steel: Fortunately, such signs of wear on stainless steel surfaces can often be easily removed with clear water and a soft cloth. Slightly damp microfiber cloths are also perfect for cleaning stainless steel kitchen appliances or other surfaces.
For more stubborn blemish, a little detergent in the cleaning water can help. Wipe the stainless steel surface with hot water and gently rub it dry to prevent streaks and streaks on the surface. Paper towels are well suited for wiping dry. Stainless steel care can be a bit time-consuming, but you will be rewarded with a “shiny” result.
If the surface of the stainless steel is highly polished, you can also clean it with a chloride-free glass cleaner, explains the Stainless Steel Information Center (ISER), an association of dealers and manufacturers. By the way: According to ISER, fingerprints on stainless steel devices are usually no longer a problem after a few cleaning processes.
Matt stainless steel surfaces require extra care
The fronts of kitchen appliances are often made of brushed stainless steel. The typical matt surface is created by grinding the surface during the manufacturing process. To prevent scratches on the stainless steel, you must ensure that you only brush in the direction of the grinding. Even with a soft cloth, wiping across the grain can permanently damage the surface.
For stubborn blots, such as discoloration caused by tea or grease deposits in stainless steel sinks, a standard household cleaning milk can help. In areas with very hard water from the tap, the surface must also be rubbed dry after cleaning. To avoid new limescale blots, you should not leave wet cleaning cloths on the stainless steel surface after cleaning. According to ISER, stubborn limescale deposits on stainless steel can be treated with a 25 percent vinegar solution. Then rinse with clean water and dry.
You should stay away from these cleaning methods
When cleaning stainless steel surfaces, you should definitely avoid using abrasive cleaning agents such as scouring powder or milk. They scratch the material. The stainless steel professionals also advise against using scouring pads or steel wool for cleaning. These could release rusting iron particles and impair the typical self-protection of the surface. Also, do not attack stainless steel with disinfectants or bleach. They are harmful to the material and can permanently attack it. This also applies to cleaning agents that contain a lot of acid, salt or chloride, which have no place in cleaning stainless steel.
If you want to permanently protect your stainless steel surfaces in the kitchen from fingerprints and grease blemish, you can use silicone-oil-based cleaning sprays. These are often designed for cleaning stainless steel and make the cleaning job much easier. Existing fingerprints are easily removed and new ones are prevented. Depending on how often the surface is used, the nourishing layer lasts a few days or even weeks. When cleaning with detergent, the light protective layer is removed again.
You can also use thick or creamy cleaning and preservatives for decorative surfaces such as refrigerator fronts or stainless steel extractor hoods. They form a thin, durable and dirt-repellent hard wax layer that does not dissolve even when cleaned with detergent and protects the material for months. This makes cleaning stainless steel surfaces easier. The layer can be removed with alcohol. However, these products are not suitable for surfaces that come into direct contact with food.
Easy to deep clean plastic
Fronts made of this material are relatively easy to clean as it is quite insensitive. To clean plastic surfaces, simply use water, dish soap, or a regular all-purpose or vinegar cleaner when tidy up the kitchen. In contrast to most other materials, plastic is also forgiving if dirt, moisture or grease splashes are not removed immediately. But the same applies here: It is better to avoid cleaners with abrasive grains or scratchy sponges. It is better to tidy up the kitchen with a soft cloth.
Cleaning of paint
When it comes to paint, a distinction must be made between matt and glossy and between foil coating and real paint. While foil-coated fronts are relatively easy to care for, real paint requires a little more effort. However, real paint scores with its long durability and greater resistance to scratches. However, both variants should not be cleaned with microfiber cloths. Matt fronts have a slightly roughened structure, which makes it easier for blemish and discoloration to set in. Therefore, all splashes should be removed immediately. Water or diluted soapy water is suitable for this. Then wipe everything dry.
With high-gloss kitchen fronts made of real lacquer, the surface is closed and so smooth that protection can be easily removed. It is important that only clean, soft cotton cloths or chamois leather are used for kitchen cleaning. So you can be sure that the shine will last for a long time. Neutral cleaning agents or a mild dishwashing liquid clean effectively without leaving scratches or discoloration on the surfaces. Scouring milk or scratchy sponges have no place in the high-gloss kitchen.
Countertop cleaning tips
Kitchen countertops come in a variety of materials. The most common include:
- plastic
- Wood
- stainless steel
- Glass
- Natural stone
No matter which material you choose: worktops have to withstand a lot and should therefore be as durable and easy to care for as possible. A good tip is to clean up spills and splashes as quickly as possible, as standing liquids can damage the material or leave unsightly blemish. Plastic worktops are the easiest to care for. Even a small puddle is unlikely to have any consequences, although the pressed wood used can swell if moisture penetrates over the cut edges or at the transition to the stove or sink. Therefore, it is better to clean up spilled liquids immediately.
The same care instructions apply to worktops made of wood, glass and stainless steel as to fronts made of the corresponding material. If you are unsure which cleaning products are suitable, you can ask the kitchen studio or the manufacturer. To be on the safe side, it is advisable to test the products in an inconspicuous area and not to start cleaning in the middle of the worktop.
Worktops made of natural stone such as granite, marble or slate not only look stylish in the kitchen, they are also particularly robust – if they have been well impregnated. While granite and slate can withstand almost anything, marble can get scratches relatively easily due to its softer surface. To be on the safe side, you should clean natural stone worktops with special care products that are particularly gentle and do not contain any aggressive acids.
Disinfecting the worktop: is it really necessary?
Even if the advertising suggests it: As a rule, it is not necessary to disinfect the worktop or stove top. The immune system of a healthy person is fully capable of dealing with the germs that live on it. However, it is important not to store and process food directly on the worktop, but rather on suitable cutting boards. Never use the same board (or knife) for raw meat, fish and vegetables. The boards should be washed immediately after use, preferably in the dishwasher. After each work step, wipe the worktop with a damp cloth or sponge and a suitable cleaning agent – then dangerous germs and bacteria have no chance.

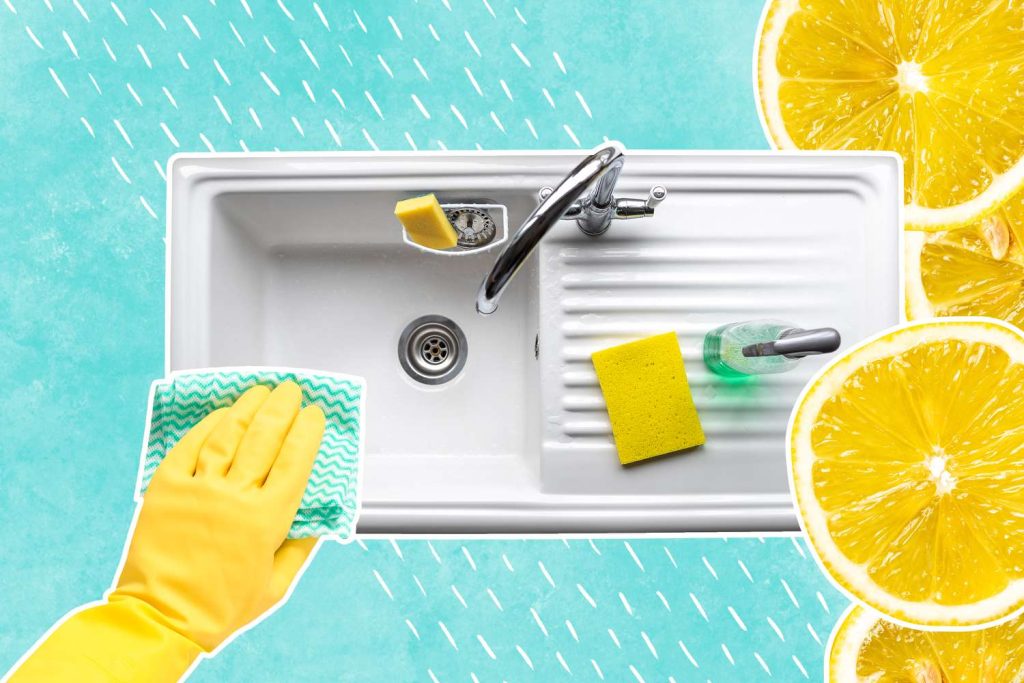
Clean the sink
In addition to the worktop and the stove, the sink is the place in the kitchen where the most work is done. Since there is constant contact with water, grease and other liquids, it should be durable and easy to clean the sink. And because not only dirty dishes are handled here, but also fresh food, appropriate hygiene should be observed. How easy it is to clean a sink depends on the material. Most sinks are made of either stainless steel, ceramic or granite. To clean the stainless steel sink, all you need is a damp cloth and a little dishwashing liquid. Subsequent rubbing dry prevents limescale blots. Scratches can hardly be avoided in the stainless steel sink. As a result, older stainless steel sinks often no longer shine as beautifully. However, the shine can be easily restored with a special stainless steel cleaner, which is applied with a soft cloth and then carefully wiped off.
With granite or ceramic sinks, the shine is not an issue, so they are easy to clean with water and detergent. Regular dry rubbing prevents the formation of limescale blots. The following applies to all sink types: Don’t forget the drain and overflow! Food residue can easily get stuck here, which in the long term leads to unpleasant smells. Therefore, you need to clean these parts regularly. For the sake of the environment, drain cleaners should only be used if there is actually a blockage. A good home remedy is a mixture of baking soda and vinegar, which clears the drain again, possibly with the use of a plunger.
Sinks with a lotus effect are relatively new. Through various processes such as nano-sealing or ceramic finishing, the surface of the sink is so smooth that dirt, food residue, germs and water droplets cannot adhere to it. This means that the sink needs to be scrubbed much less often. For sinks, just like for hobs, flush installation makes cleaning much easier. No edges, cracks or edges for dirt to get stuck on: just wipe over it and everything is sparkling clean. It is worth taking this aspect into account when planning a new kitchen.
Electrical appliances that make cleaning easier
The choice of electrical appliances already determines how difficult it will be to tidy up the kitchen. Keyword stove: The biggest enemy of a clean kitchen is grease splashes, closely followed by dried or burnt food residues. If you don’t feel like cleaning the stove from grease and incrustations after every cooking, you should think about purchasing an induction hob. Since this technique only heats the bottom of the pot or pan, but not the hob itself, overcooking and burning are hardly ever the case. Electric hobs are also relatively easy to clean. All glass ceramic hobs can be cleaned with a wet towel and, if something goes wrong, with a special sanitizer. If you don’t like cleaning, you should stay away from gas stoves, as they require a lot of effort. The fine nozzles tend to get clogged if they are not cleaned regularly.
One of the most annoying tasks in the kitchen is definitely cleaning the oven. But here too, devices with intelligent features, such as pyrolysis, can make life easier for amateur cooks. Dirt and residue are burned at very high temperatures in the closed oven. All you have to do is wipe the inside briefly with a wet towel and you’re done cleaning the oven. The big advantage is that this method completely eliminates the need for chemicals.
Grease in the kitchen – tips for removing it
If a kitchen is used frequently, sooner or later a fine film of grease and dust particles can form over the surfaces. The upper cupboards in particular are often not cleaned frequently enough, so a lot of things can accumulate here. To prevent this, you should wipe the upper cabinets about once a month or place newspaper there that is changed regularly. The tile backsplash behind the hob can be easily cleaned with degreaser, dishwashing liquid or a glass cleaner.
Although the problem of “grease in the kitchen” cannot be completely eliminated, it can be significantly reduced with a powerful extractor hood, way to clean. This sucks in the so-called vapor, i.e. the mixture of steam and fat that is created during cooking, before it can spread into the kitchen. There are a variety of different extractor hoods, hob extractors and downdraft fans that fulfill this task. They make cleaning the entire kitchen easier. It is important that your filters are cleaned regularly. This is most convenient if the built-in grease filters can be cleaned in the dishwasher. The easier it is to install and remove, the better. In the case of recirculating air hoods, the activated carbon filter should also be replaced approximately every six to twelve months, depending on the intensity of use. Also remember to occasionally wipe the outside of the extractor hood when cleaning the kitchen, otherwise grease can build up on it and become more difficult to remove over time.
Kitchen cleaning hacks – these tricks will make your kitchen shine
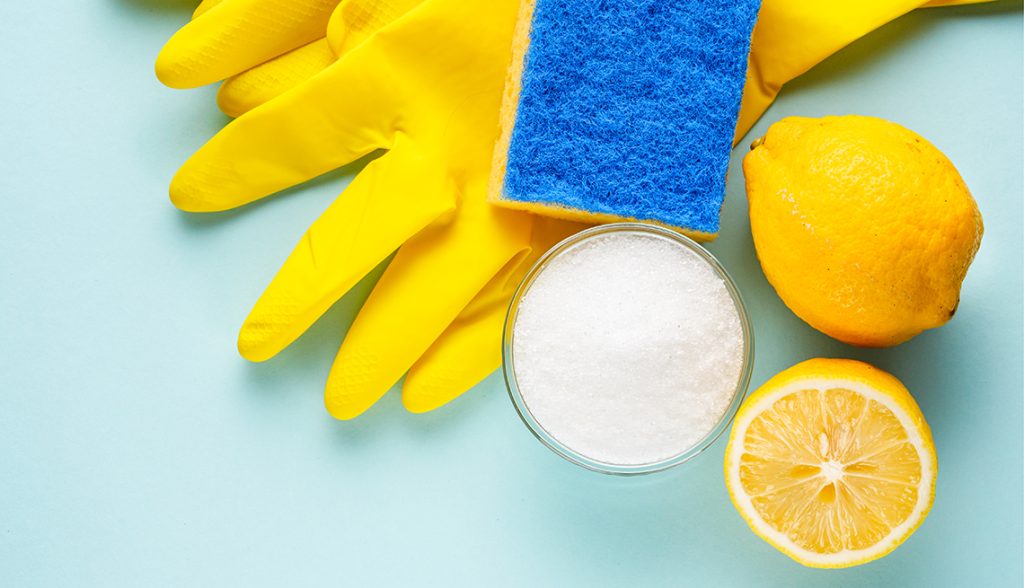
If you don’t want to have to use caustic chemicals when cleaning your kitchen, you can also use simple home remedies to make your kitchen shine. The Inter living partners will tell you in this blog article which natural life hacks you can use to get your kitchen sparkling clean again .
Lemon – a true miracle cure
Lemons can be found in almost every household as they are often used for cooking or baking. The yellow fruit is also a real miracle cure for kitchen up keeping. The Inter living partners will show you various ways to use lemon for natural kitchen up keeping.
Clean oven
Removing stubborn dirt in the oven works wonderfully with a water and lemon mixture. Simply fill a baking dish with water and add one or two squeezed lemons. The lemon-water mixture is then placed in the oven at 120 degrees for about 45 minutes. The steam removes grease and burnt food easily. Then wipe away the residue with a wet towel.
Care for the dishwasher
The yellow fruits also help against annoying limescale residues in the dishwasher: simply rinse the peel of a squeezed lemon in the cutlery basket. A pleasant side effect: the dishwasher gives off a pleasantly fresh scent after the wash cycle.
Sparkling clean ceramic hob
To make your ceramic hob shine like new again , cut a lemon in half and remove the seeds. Now carefully rub the cut surface over the ceramic hob and leave it to work for 5-10 minutes. Then wipe with a wet towel and rub everything thoroughly dry.
Interliving Tip: To prevent unsightly stains caused by water boiling over, place a wooden spoon across the cooking pot. This prevents overcooking and saves you having to clean the hob 😉
Cleaning kitchen cutting boards
Kitchen boards are used almost every day for all types of food. After a while, bacteria and nasty smells tend to collect in wooden and plastic boards. The miracle weapon lemon helps here too ! Rub the cutting board with half a lemon and leave the board overnight. Lemon juice removes stains, germs and unpleasant odors (e.g. from raw meat or fish).
White power from the baking shelf – Baking soda
Baking powder is a universal talent and is effective not only in baking, but also in many other household activities!
Burnt food in the pot and baking tray
Burnt things in the pot can be easily removed with a little baking powder. Boil a tablespoon of baking powder with a little water in a pot and let everything cool down thoroughly . You can then easily remove any burned-on items. Stubborn remains of burnt food on the baking tray can also be removed with water and baking soda. To do this, coat the treated area with a mixture of baking soda and a little water. Use three to four tablespoons of baking soda and add enough water so that the paste has a creamy consistency. Leave everything to work well overnight. The next morning you can remove the dirty areas with water and a sponge.
Clean drains
Everyone knows leftover food and grease residue in the sink. Here too, chemicals are often used. However, these usually only work for a short time and also pollute the environment. With baking soda and vinegar you can clean the clogged drain much more cost-effectively and sustainably. To do this, take a packet of baking soda and pour it into the drain. Then pour half a glass of vinegar afterwards. After about an hour, rinse the drain with hot water. Complete!
Clean silicone joints
Silicone caulks keep moisture out and are most susceptible to dirt and moisture blemish around the stove and sink. Here, too, you can tackle the dirt with a baking soda and water mixture. Mix a packet of baking soda in water. When mixing, make sure that the mixture does not become too liquid, but is still nice and solid. Spread the substance over the silicone joints with a toothbrush and leave it to work for a good hour . Then remove everything with a wet towel and dry the joints well with a cloth.
Before cleaning, take a good look at your silicone joints. If these are already brittle, have the first cracks or the contamination has already penetrated the material, cleaning will probably not have much effect or will further increase the growth of mold. Here you should consider renewing the joints .
Vinegar
Even in our grandparents’ time, vinegar was not just a means of cooking. Even back then, vinegar served as an insider tip in the household.
Refrigerators & Containers
Containers in which food is stored can quickly become infected with germs, bacteria or mold. To prevent this, wipe out the refrigerator, fruit containers, etc. once a week with a mixture of vinegar and water (2/1 e.g. two cups of water and one cup of vinegar). This prevents mold growth and removes dirt from the devices and containers.
Descale the kettle
Due to its high acid content, vinegar is ideal for removing limescale. Many households that live in regions with hard water are familiar with the problem of frequently calcified appliances. This also includes the kettle. To descale the kettle, pour 2 spoons of vinegar essence into a cup and fill it with water. Put the vinegar mix in the kettle and bring it to the boil. Turn off the kettle and let the solution sit for 30 minutes . Then rinse the kettle thoroughly.
FAQs
Q: How do I clean my kitchen cabinets effectively?
A: To clean your kitchen cabinets, start by mixing a solution of warm water and white vinegar. Dip a microfiber cloth into the solution and gently wipe down the cabinet surfaces. For tough stains or grime, use a clean toothbrush to scrub the affected areas.
Q: What is the best technique to cleanse a microwave?
A: One effective technique to cleanse a microwave is to place a bowl of water with a few tablespoons of white vinegar inside and microwave it for a few minutes. The steam produced will help loosen any dried-on food particles, making it easier to wipe down the microwave interior with a wet towel.
Q: How can I clean my kitchen sink and garbage disposal?
A: To clean your kitchen sink, start by sprinkling sodium bicarbonate onto the surface and scrubbing with a sponge. For the garbage disposal, you can freshen it up by grinding ice cubes and a few lemon slices to eliminate odors and build-up.
Q: What is a good method to clean small appliances like a coffee maker or toaster?
A: For small appliances, such as a coffee maker or toaster, you can run a cycle with equal parts water and white vinegar to remove any mineral deposits or build-up. Make sure to rinse thoroughly afterward.
Q: How do I clean my oven without using harsh chemicals?
A: To clean your oven naturally, create a paste using sodium bicarbonate and water. Apply the paste to the interior of the oven and let it sit overnight. The next day, wipe away the paste and any loosened grime with a damp cloth.
Q: What is the best way to clean a range hood?
A: To clean a range hood, remove the filters and soak them in hot, soapy water. Use an all-purpose sanitizer to wipe down the hood surface, removing any grease or residue. Once done, dry everything thoroughly before reattaching the filters.
Q: What should be included in a kitchen cleaning checklist?
A: A comprehensive kitchen up keeping checklist should include tasks such as cleaning countertops, mopping the floor, wiping down appliances, emptying the garbage, cleaning the sink, and sanitizing high-touch areas like faucets and door handles.